
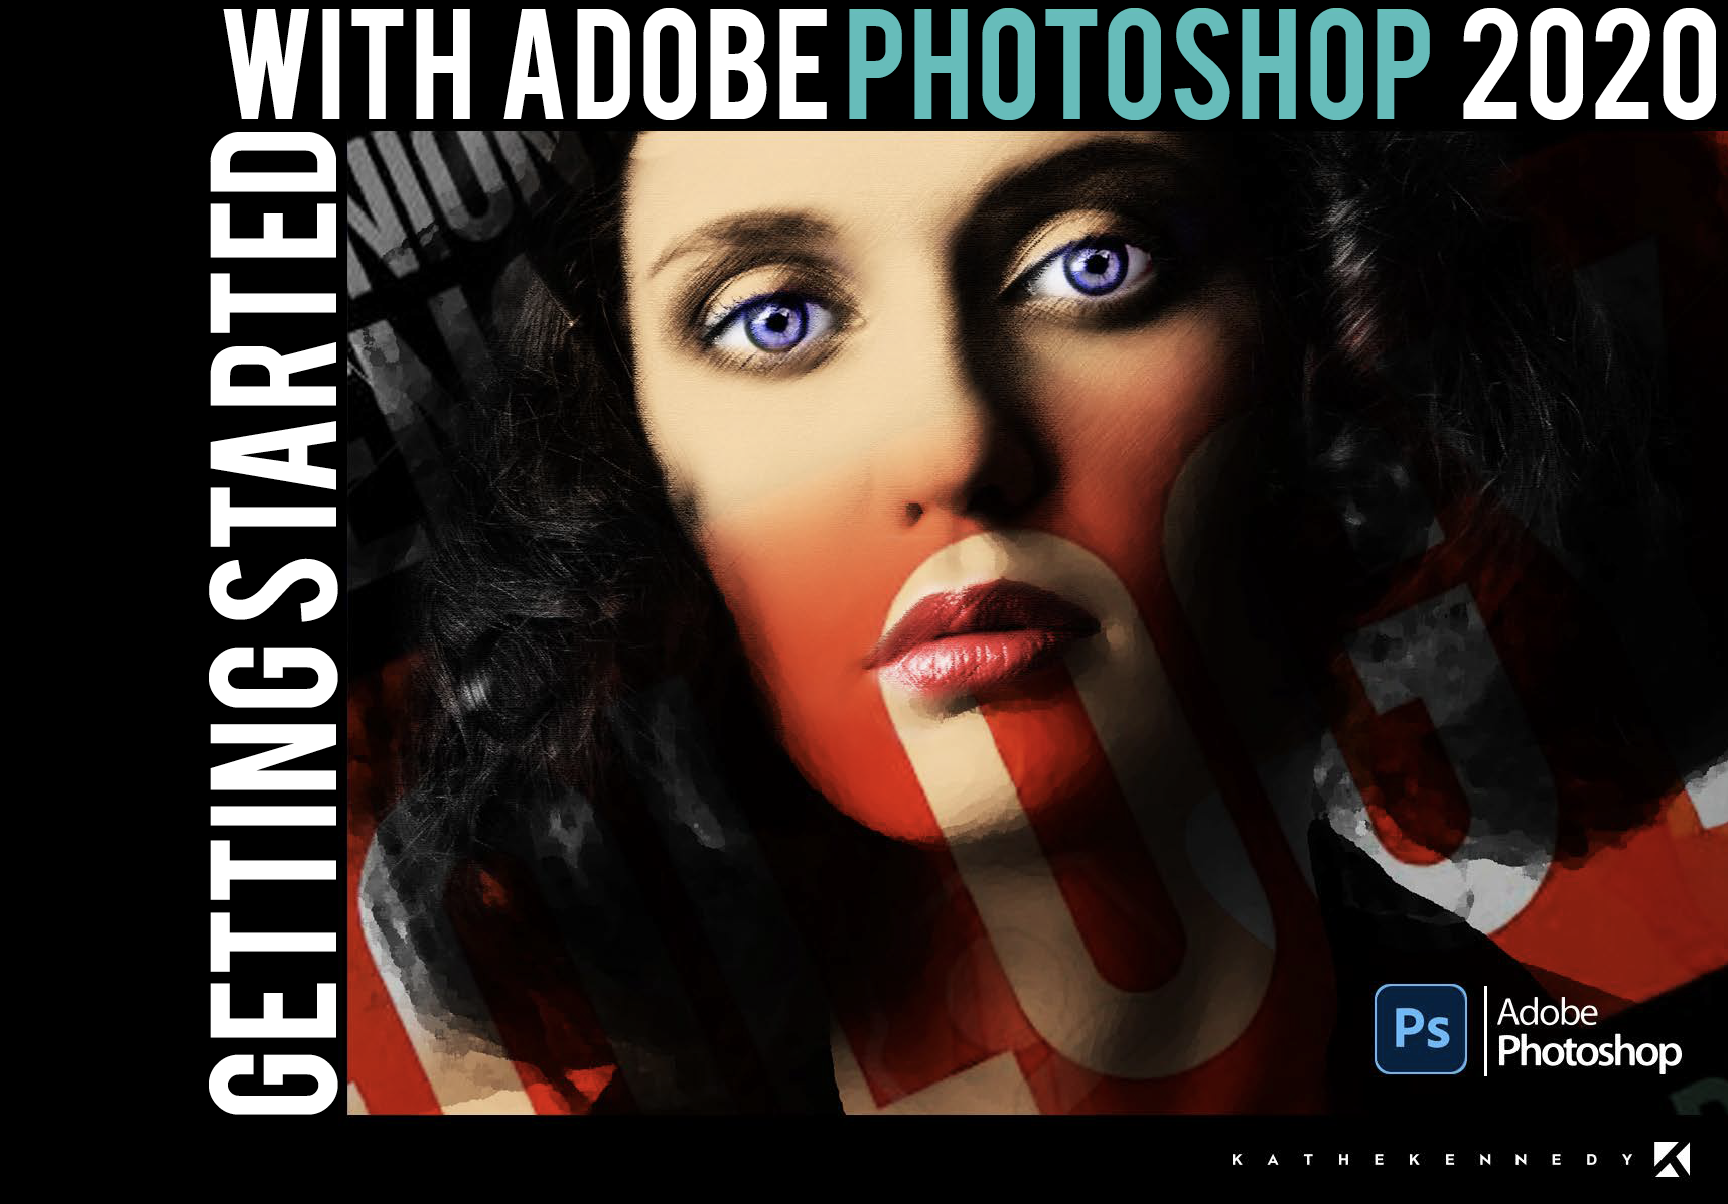
Welcome to the GRAPHIC DESIGN course. This course is designed to gain knowledge of the most powerful image editing software, Adobe Photoshop. While learning key techniques, concepts and tools, students will gain a range of experiences and working methods that will enable them to work smoothly while increasing productivity.
Scroll down
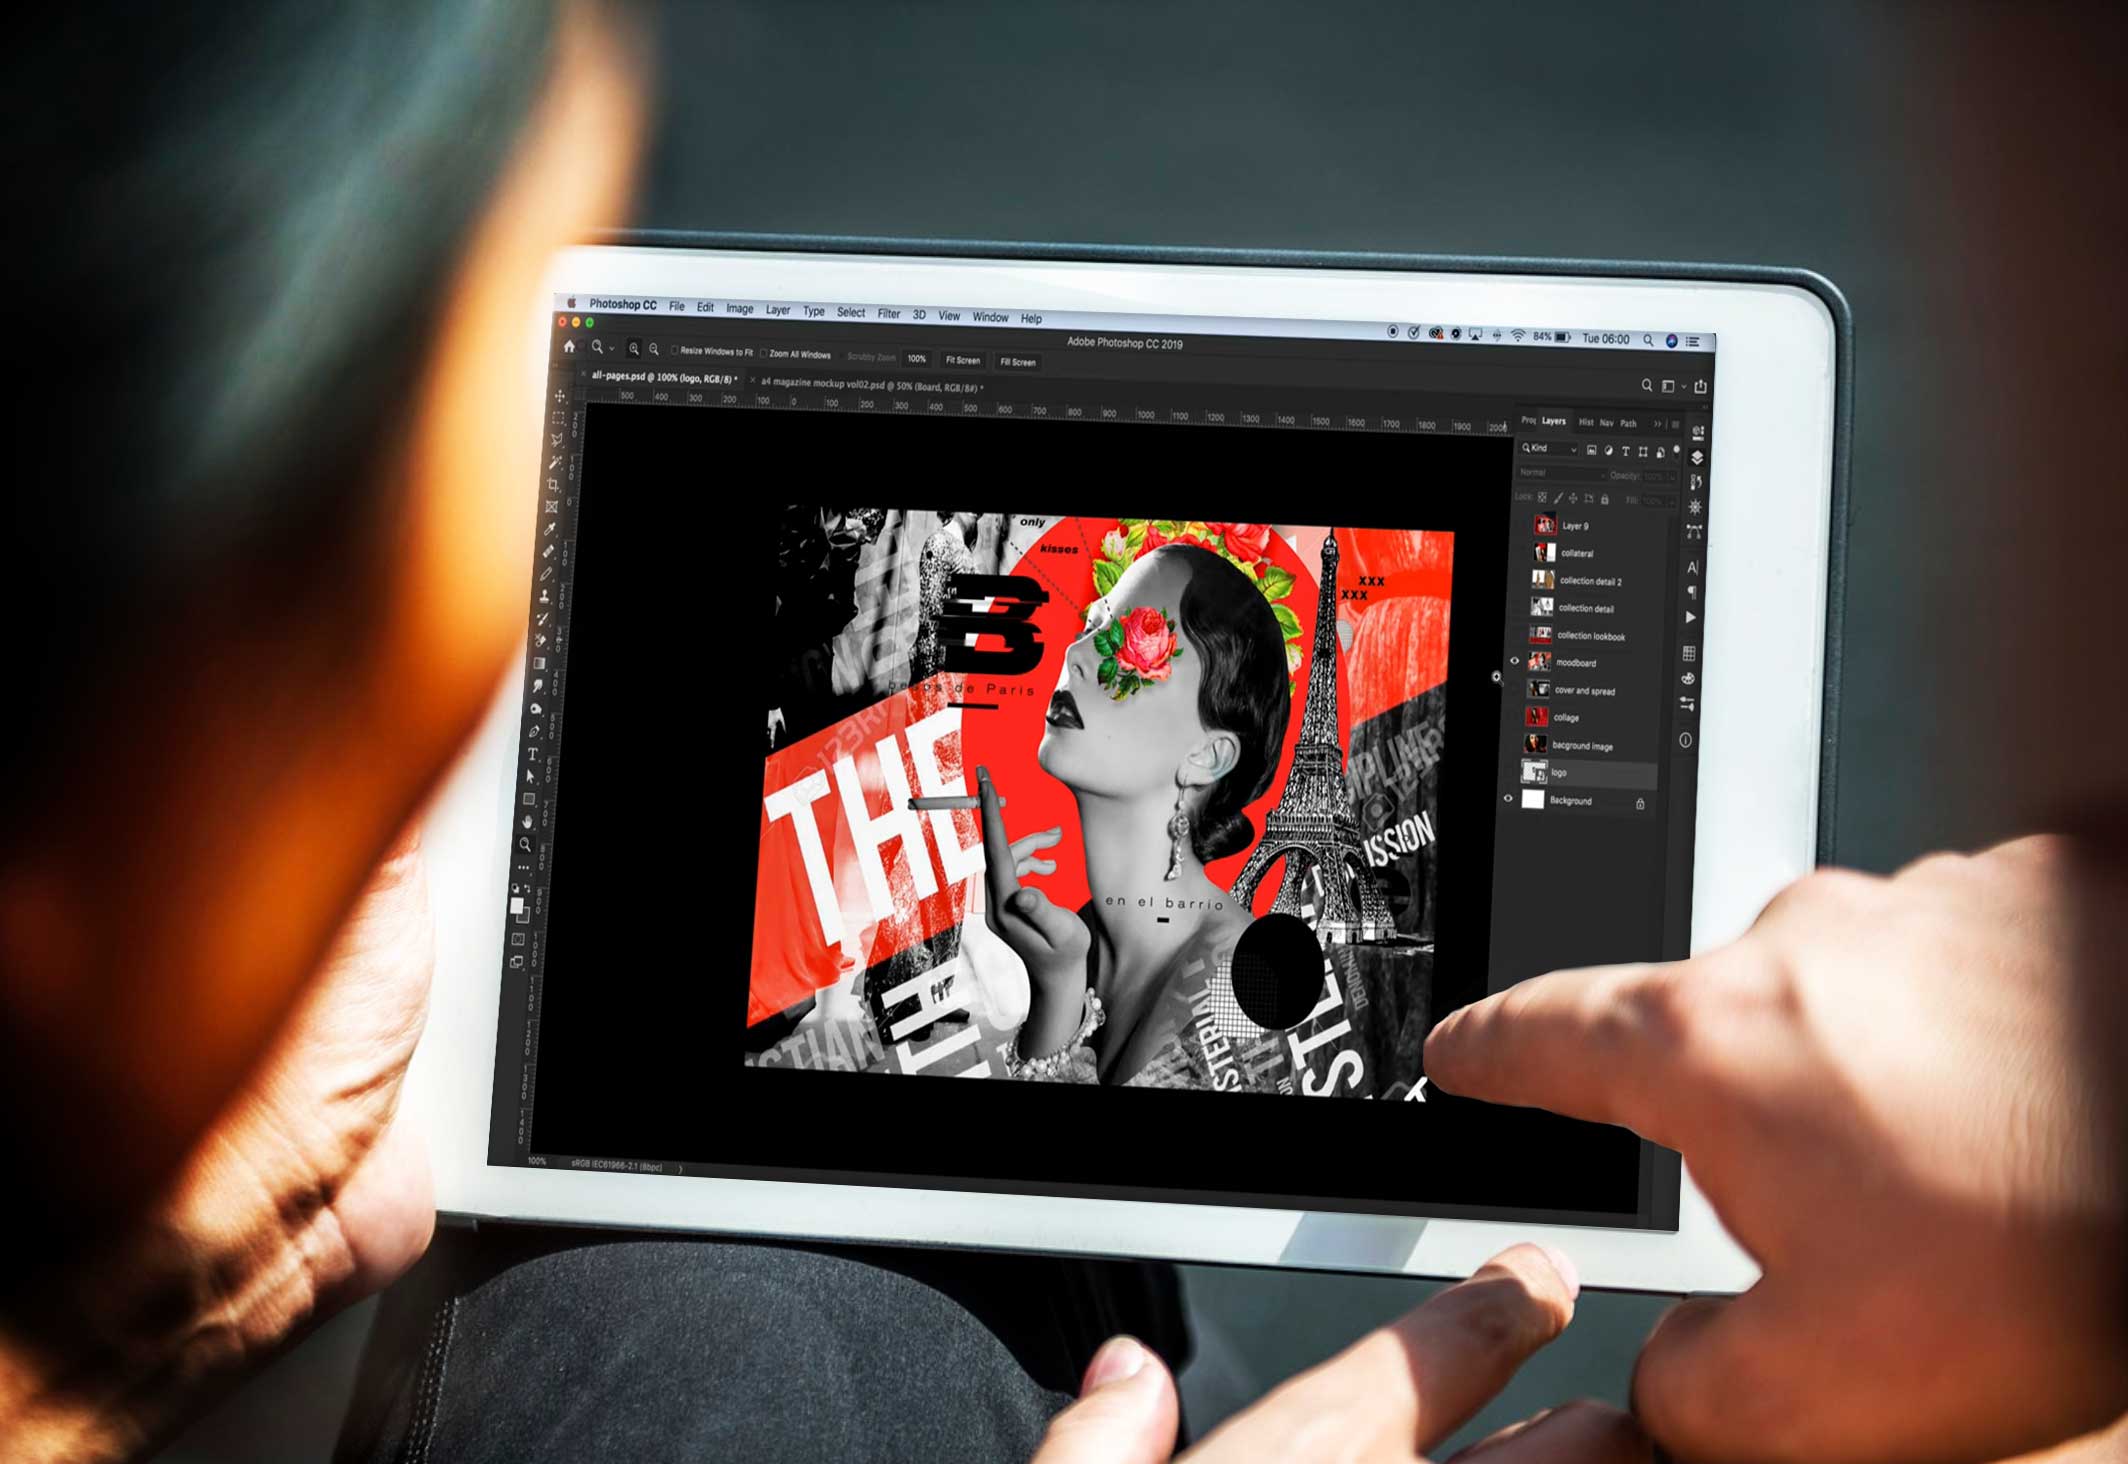
Adobe
Photoshop
The world's most powerful image editing software
Adobe Photoshop
Welcome to Adobe Photoshop. On this page, you'll find all the documents, links, & inspirations for class.
Let's start to work!
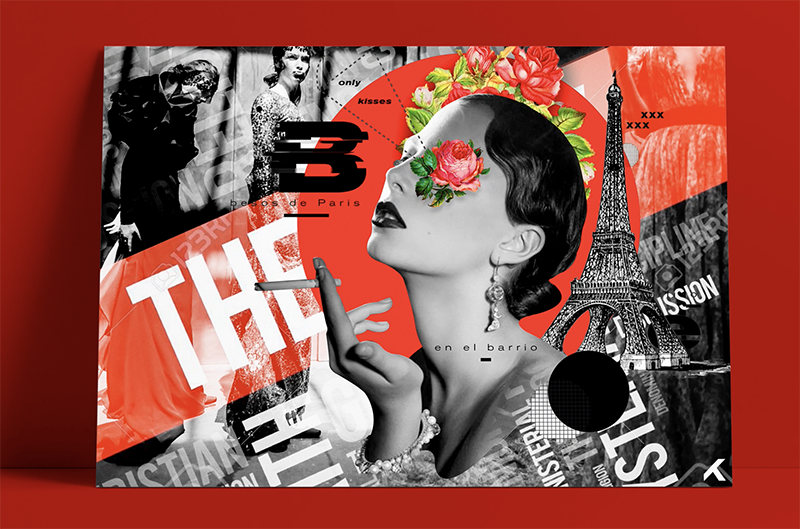
FINAL PROJECT "FASHION PRESENTATION"
Behance is one of the many tools that Adobe has to help creators stand out. It’s somewhat like LinkedIn, in the sense that you can use it to showcase your professional work and connect with others.
This platform it’s published millions of projects since its launch in 2006, and it remains the go-to place to showcase your work.
Behance’s offerings are pretty diverse, and knowing what you can use the service for before signing up will help you get the most out of it.
For this assignment, you will create a portfolio on the platform Behance showcasing your fashion project. You must have these sections within your prestextion:
1. Cover
2. Text describing your collection
3. Moodboard
4. Color, patterns, and fabrics pallets used in the collection
5. Cover of your Lookbook (using a mockup)
6. Five sketches
7. One sketch at the time
8. Invitation to the “fashion Show”
9. Instagram stories promoting the collection
BE CREATIVE AND MAKE ME PROUD!!
To create a Project:
1. Login to your Behance profile
2. Click the Share Your Work button on the top of the Behance page and select Project
3. Begin adding content. When you’re done uploading your work, click Continue
4. Upload/Select a Cover Image, enter a Project Title, select a Creative Field, and add Project Tags
5. Click Save to save the project as a Draft or click Publish to publish your project live
00.
Introduction to Adobe Photoshop
01.
Documents & Interface
2.1 Opening Photoshop

2.2 Mastering the Interface

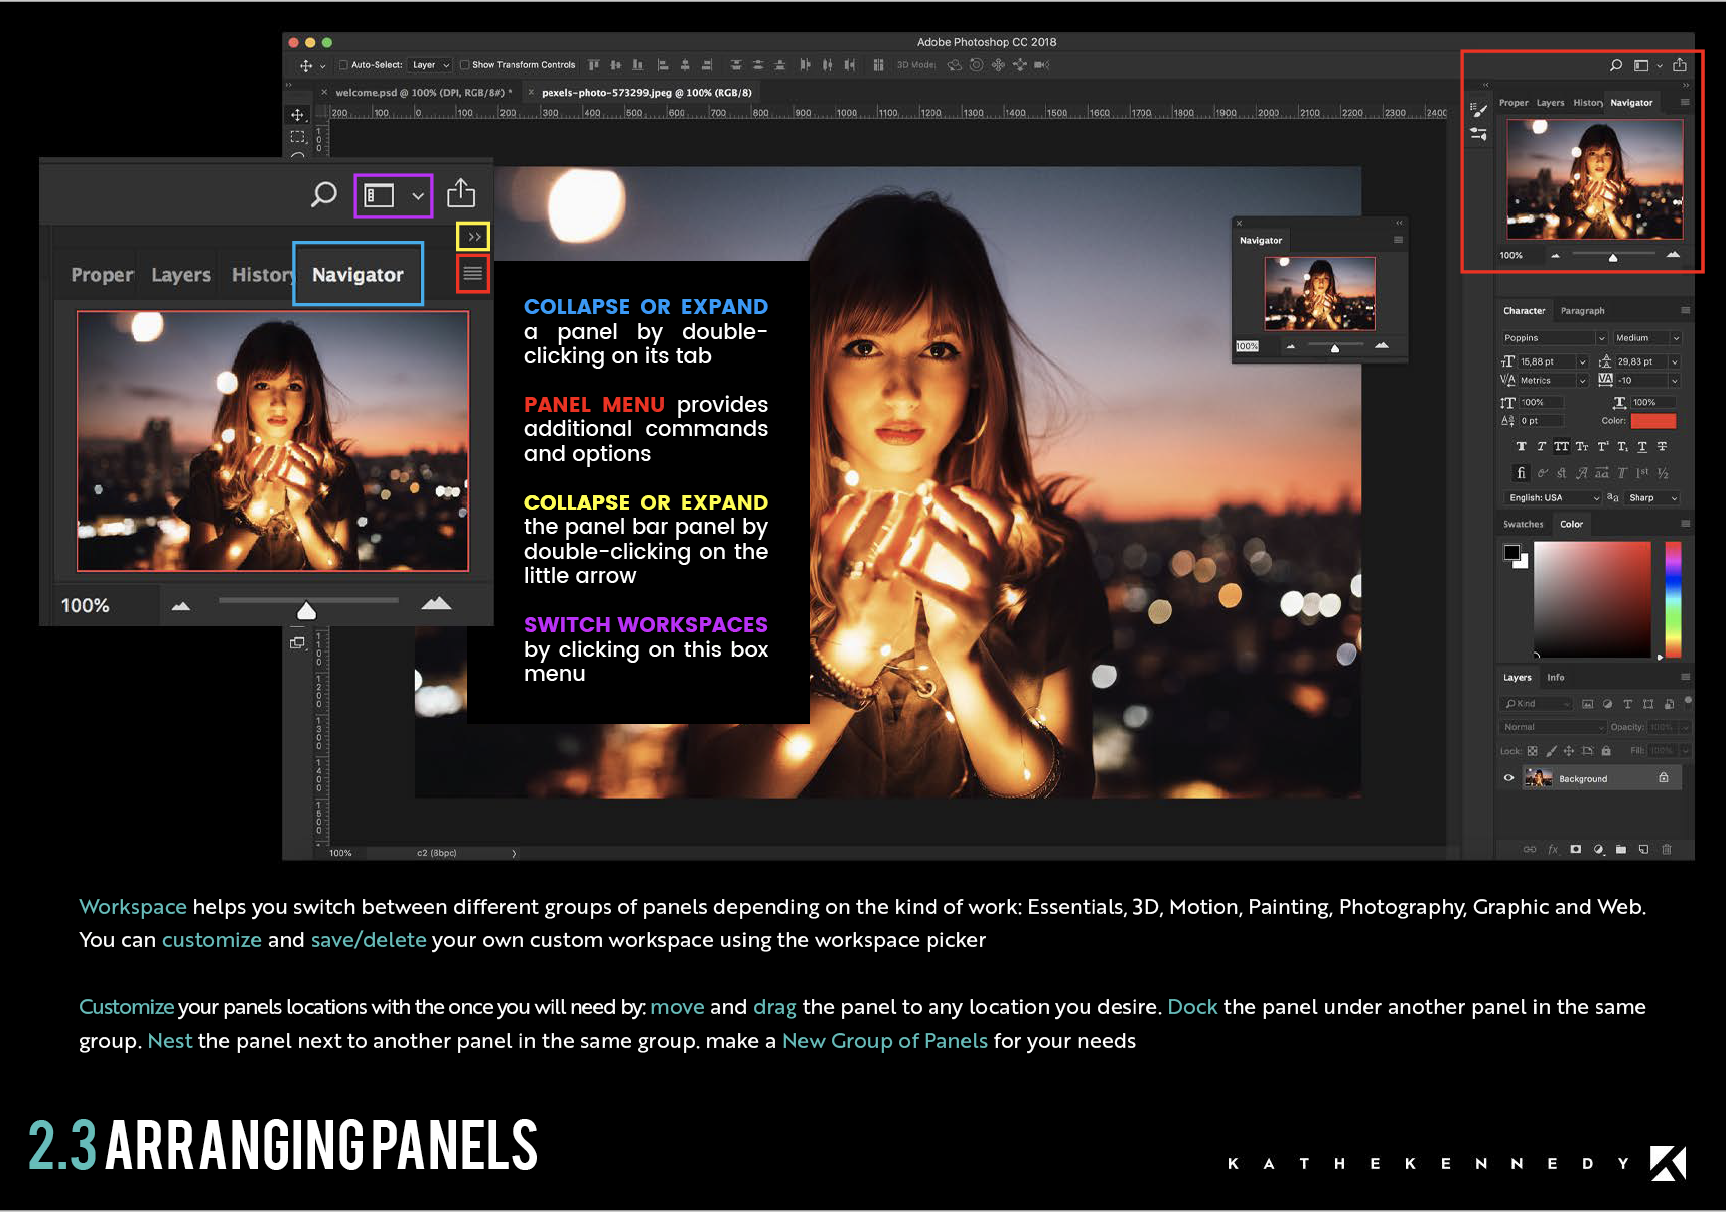
2.3 Arranging Panels
2.4 Customising the Toolbar
2.5 The Home Screen
2.6 Opening Documents
2.7 Opening Different Documents
2.8 Closing One or More Documents
2.9 Create New Documents
02.
Adobe Bridge & Camera Raw
03.
Navigation
4.1 Zooming In & Out

4.2 Scrubby Zoom & Panning
4.3 Panning & Zooming Different Documents
04.
Layers

5.1 Introducing the Layers Panel
5.2 Converting Flat Background to a Layer
5.3 Duplicate an Image onto a New Layer
5.4 Flipping & Scaling a Layer
5.5 Adding a Vector-Based Layer
5.6 Creating a Basic Layer Mask
5.7 Create a Clipping Mask
5.8 Merging Two Layers into One
5.9 The Move Tool & The Auto-Select Feature
5.10 Inverting a Layer Mask
5.11 Layer Effects
5.12 Adding Adjustment Layers
05.
Making Selections
6.1 The Marquee / Lasso & Magic Wand Tool
6.2 Different Lasso Tools
6.3 Object, Quick and Magic Wand Selection Tool
06.
The Pen Tool
7.1 The Pen Tool Part 1
7.2 The Pen Tool Part 2
7.3 The Pen Tool Exercise 1
07.
Artboards

8.1 How to Create Artboards
8.2 Adding Content to Artboards
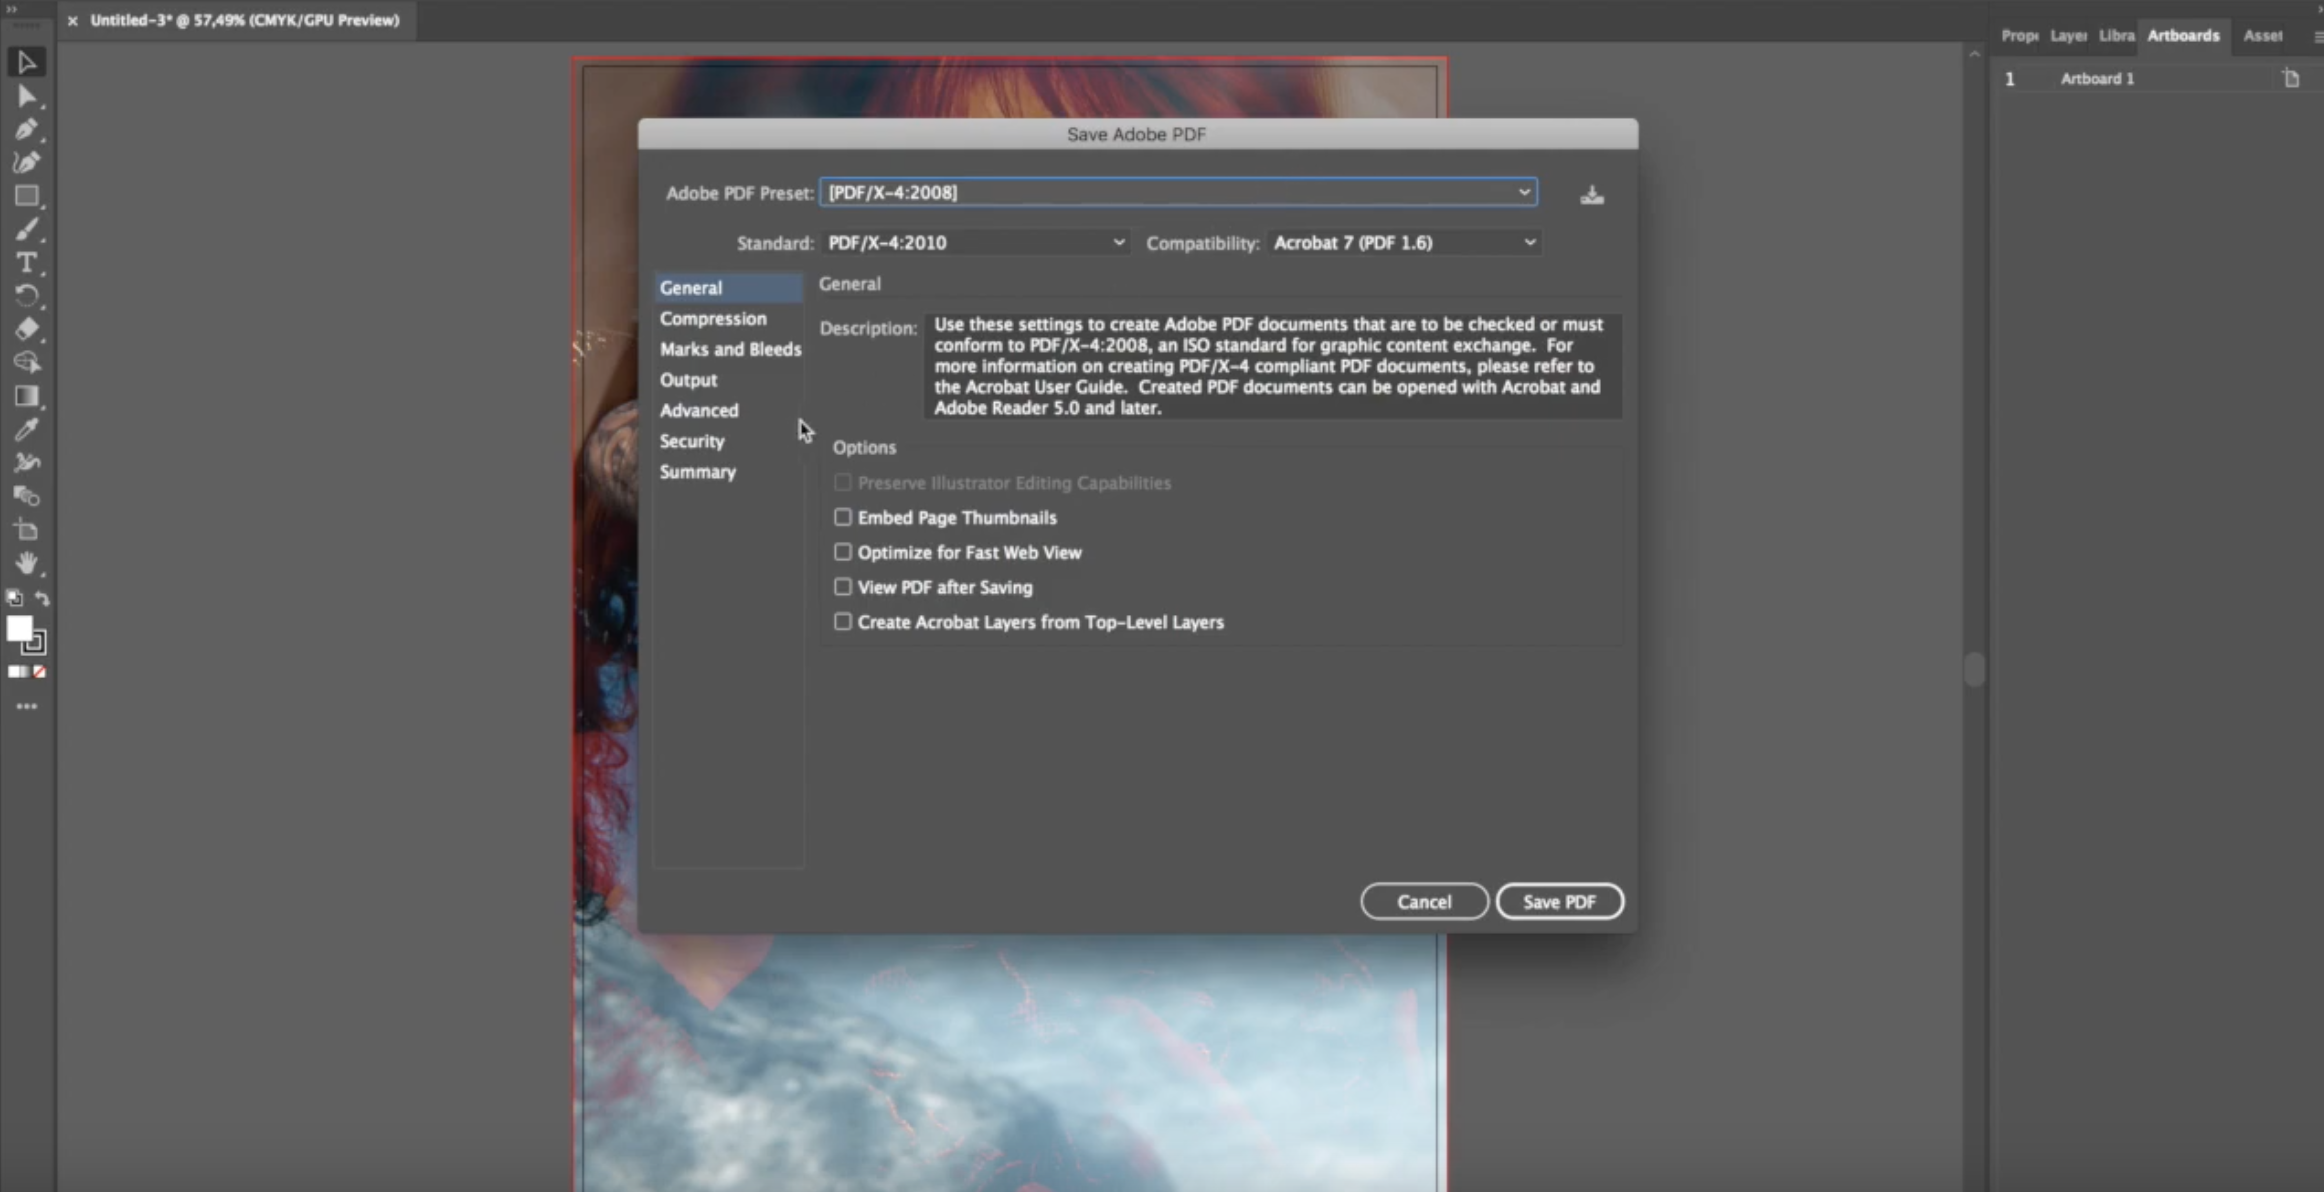
8.3 Saving & Exporting Artboards
08.


Transformations

012.

The Crop Tool
15.1 Using the Crop Tool
15.2 Cropping-Straighten a Crooked Image
15.3 Cropping & Delete Pixels
15.4 Cropping-Content Aware
015.
Creating and Formatting Text
16.1 Creating Text
16.2 The Character Panel
16.3 The Paragraph Panel
16.4 Type Mask Tool
016.
Colors in Photoshop
017.

Brightness
19.2 Auto Contrast, Auto Color & Auto Tone
19.1 Channels
19.3 Channels & Masks
019.


Photoshop for Fashion
26.1 Working with Hand Sketches
26.2 Colouring your sketch part 1
26.3 Colouring your sketch part 2
26.4 Patterns
26.5 Working on an Existing Pattern
26.6 Create a Pattern Part 1
26.6 Create a Pattern Part 2
26.7 Prepare a Pattern to Print
26.8 Puppet Warp
26. 12 Making Fur
26.13 Steps to Make the Sketch
Black and White Shadowing

026.
Your Professor

Kathe Kennedy
Creative Director / Web Developer / Educator/
Before opening her own creative boutique, Kathe was a creative services director in the Milan office of Warm Up Industry. She works primarily in the areas of graphic, web and brand identity by integrating today’s most in-demand technologies as well as managing freelance designers and consultants.
Prior to her Italian based position, Kathe Kennedy was a senior art director in the New York office of BKS Networks Inc, where she was responsible for the look and feel of an enterprise-level network, working closely with an engineering team to produce over 7,000 consumer-facing GUIs (Graphical User Interface) according to the client’s specifications of new and/or existing looks. Some of her client lists includes American Express, Atlantic Records and Amazon.com. Kathe Kennedy received a BA in graphic design from NCC and was also educated at Parsons School of Design, NYC and Central St. Martins, London.
0About.